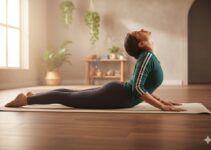
Pyramid Pose (Intense Side Stretch Pose) is also known as Intense Flank Stretch Pose or Parsvottanasana, which generally targets the hamstrings and shoulders. It helps to improve the core strength.
Benefits
Pyramid Pose strengthens the legs, especially the hamstrings and improves the core strength.
It provides adequate stretching to your shoulders and ensures balance and coordination.
It is suitable for runners to maintain their hamstring flexibility.
An inversion yoga pose facilitates blood to the brain, thus ensuring mental clarity.
It builds full-body coordination and improves postural habits.
Parsvottanasana stretches the spine and chest, too.
It is beneficial in flat feet and improves digestion.
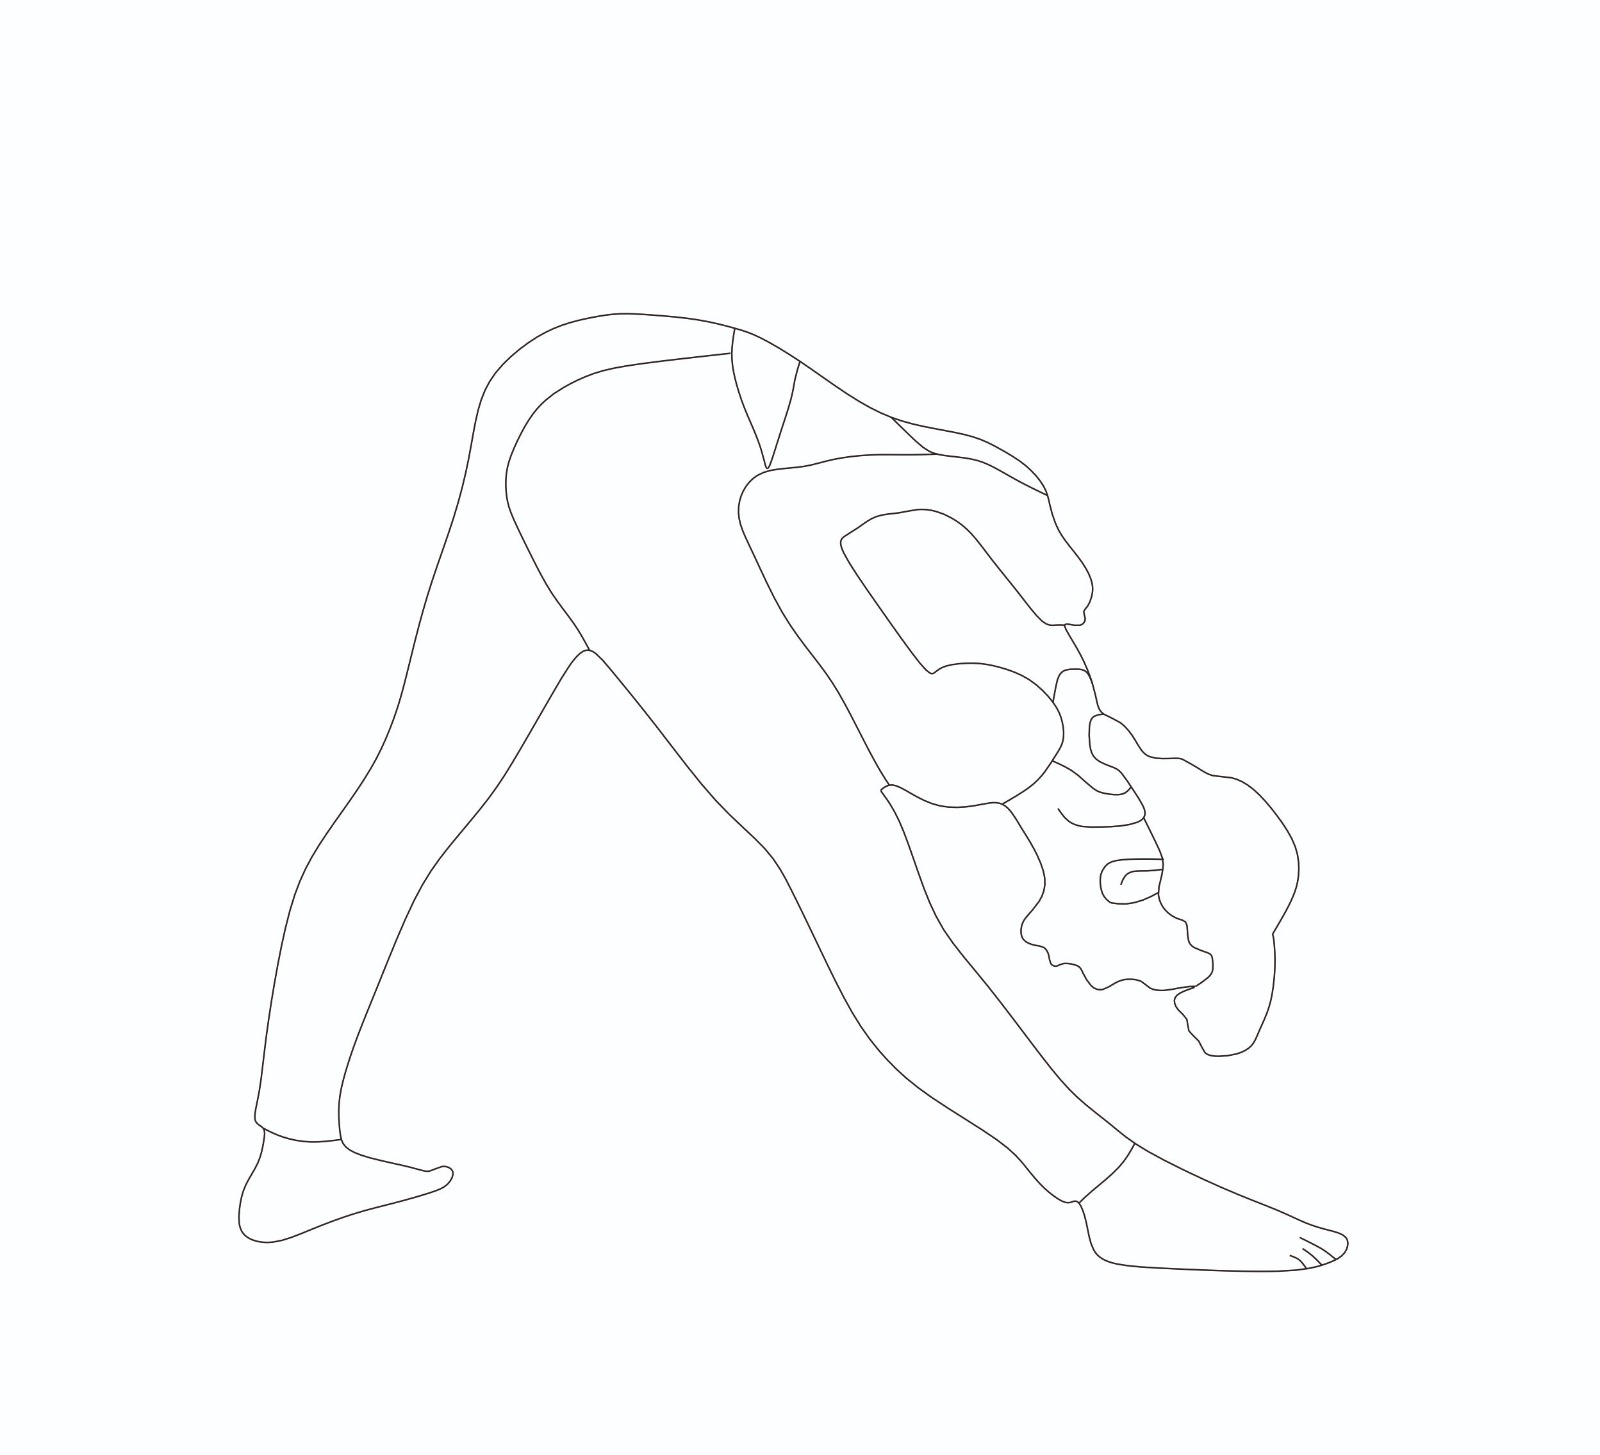
Pyramid Pose step-by-step instructions
- Begin in Downward-Facing Dog (Adho Mukha Svanasana). This is a common starting position in yoga, where you form an inverted “V” shape with your body, hands, and feet on the mat.
- Bring your right foot forward to the inside of your right hand. This is often referred to as a lunge position.
- Come up to your fingertips. This helps create space in your spine and prepares you for the next steps.
- Step your left foot forward about a foot. Turn your left toe out slightly and lower your left heel so that the sole of your foot is flat on the mat. This positions your feet for a stable stance.
- Straighten your right leg. Ensure that your right leg is extended and your knee is not bent.
- Lift your torso to a standing position. Use your leg muscles to rise while maintaining a straight back.
- Put both hands on your hips to ensure your hip points face the front of the mat. This helps in squaring your hips, which is essential for proper alignment.
- Inhale to lengthen the spine. Please take a deep breath and lengthen your spine, keeping it straight.
- On the next exhale, deepen your right hip crease as you bend forward over your right leg. Hinge at your hips while keeping your back as flat as you can. As you progress, it’s okay for your spine to round slightly.
- Lower your hands to the floor. Depending on your flexibility, you can choose to stay on your fingertips or flatten your palms on the mat.
- On each inhale, lengthen the spine. Take a breath in and try to lift your chest slightly, coming into a flat back position.
- On each exhale, take the forward bend a little deeper. As you breathe out, allow your torso to come closer to your right leg, keeping the micro bend in your right knee and your hips squared.
- Keep drawing the right hip back to maintain hip alignment. Stay in this position for around five breaths, focusing on your breath and gradually deepening the stretch.
- Repeat the entire sequence on the left side to balance the body. This means bringing your left foot forward and repeating the steps, mirroring what you did on the right side.
Precautions and Contraindications
The pose shouldn’t be performed if someone is injured in the hamstrings, hips, back, shoulders and wrists.
It should be avoided in case of high blood pressure and heart disease.
It should also be skipped during pregnancy.
Could you perform the pose within your range of limits?
In case of any medical concerns, it is better to talk with your doctor before practising it.
Facts about Intense Side Stretch Pose
Pyramid Pose is a standing yoga posture that synergises with forward bending, backwards bending, and balancing.
Its Sanskrit name is “Parsvottanasana” (PARZH-voh-tahn-AHS-uh-nuh).
Parsvottanasana comprises ‘Parsva’ — meaning ‘side’, ‘Ut’ — meaning ‘intense’, ‘Tan’ — meaning ‘to stretch’ and ‘Asana’ — pointing ‘pose’.
The difference between the Pyramid pose and Parsvakonasana is that the Pyramid pose stretches both sides of the body equally while, in the case of Parsvakonasana, stretches each side separately.
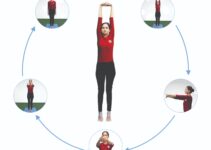
Preparatory pose
Follow-up poses
Variations and Modifications
The variations can help individuals adapt the pose to their abilities and address specific needs. Here’s a breakdown of these variations:
Variation 1
Stand with your feet hip-distance apart.
Fold forward at your hips, keeping your back straight.
If you can, reach your hands behind your back, pressing the palms together in prayer (Anjali Mudra).
If this is too challenging, cross your arms behind your waist and clasp each elbow with the opposite hand. Switch the arm on top when you change leg positions.
Variation 2
If you have shoulder or wrist issues or want to reduce the backward bend aspect, release your arms forward to the floor instead of reaching behind.
You can rest your hands on yoga blocks if they don’t comfortably reach the floor.
If you have difficulty balancing, step your feet slightly wider than hip-distance apart for a more stable base.
Variation 3
You can start in the full pose with hands clasped behind your back.
Release your hands and extend your arms behind you.
Interlace your fingers and, on an exhale, drape your torso over your front thigh.
Reach your clasped hands over your head, keeping your arms straight.
If your back heel lifts in the pose, you can practice with that heel pressed against a wall for stability.
Alternatively, fold your yoga mat and press your heel into the cushioning, or use a firm, folded blanket beneath the heel.