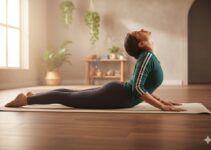
Garland Pose (Malansana) in yoga is an intense squat that helps to strengthen the hips, groin muscles, ankles and quads. The regular practice of the pose helps to enhance mobility and also helps prevent pain. In Sanskrit, it is pronounced as ‘Muh-LUH-suh-nuh’.
Benefits
Garland Pose helps to open the hips and groin muscles because of adequate stretching to the feet and ankles.
It is an effective yoga pose to ease tightness and stiffness for those who used to sit on a chair for long hours.
The Yogic Squat strengthens the feet, ankles, and legs. It also creates space in the lumbar spine and the spinal column.
It helps release energy stress, especially from the lower back and legs.
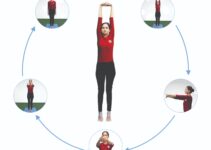
Step by Step procedures
- Start with your feet: Begin by standing with your feet hip-width apart or about the width of a yoga mat.
- Bend your knees: Slowly bend your knees and lower your buttocks towards the floor, as if you are about to sit in a chair. This is the beginning of the squat position.
- Foot Placement: It’s natural for your toes to point slightly outward in this pose, and that’s okay. However, try not to overdo it. Over time, you can work on keeping your feet closer to parallel if that feels comfortable.
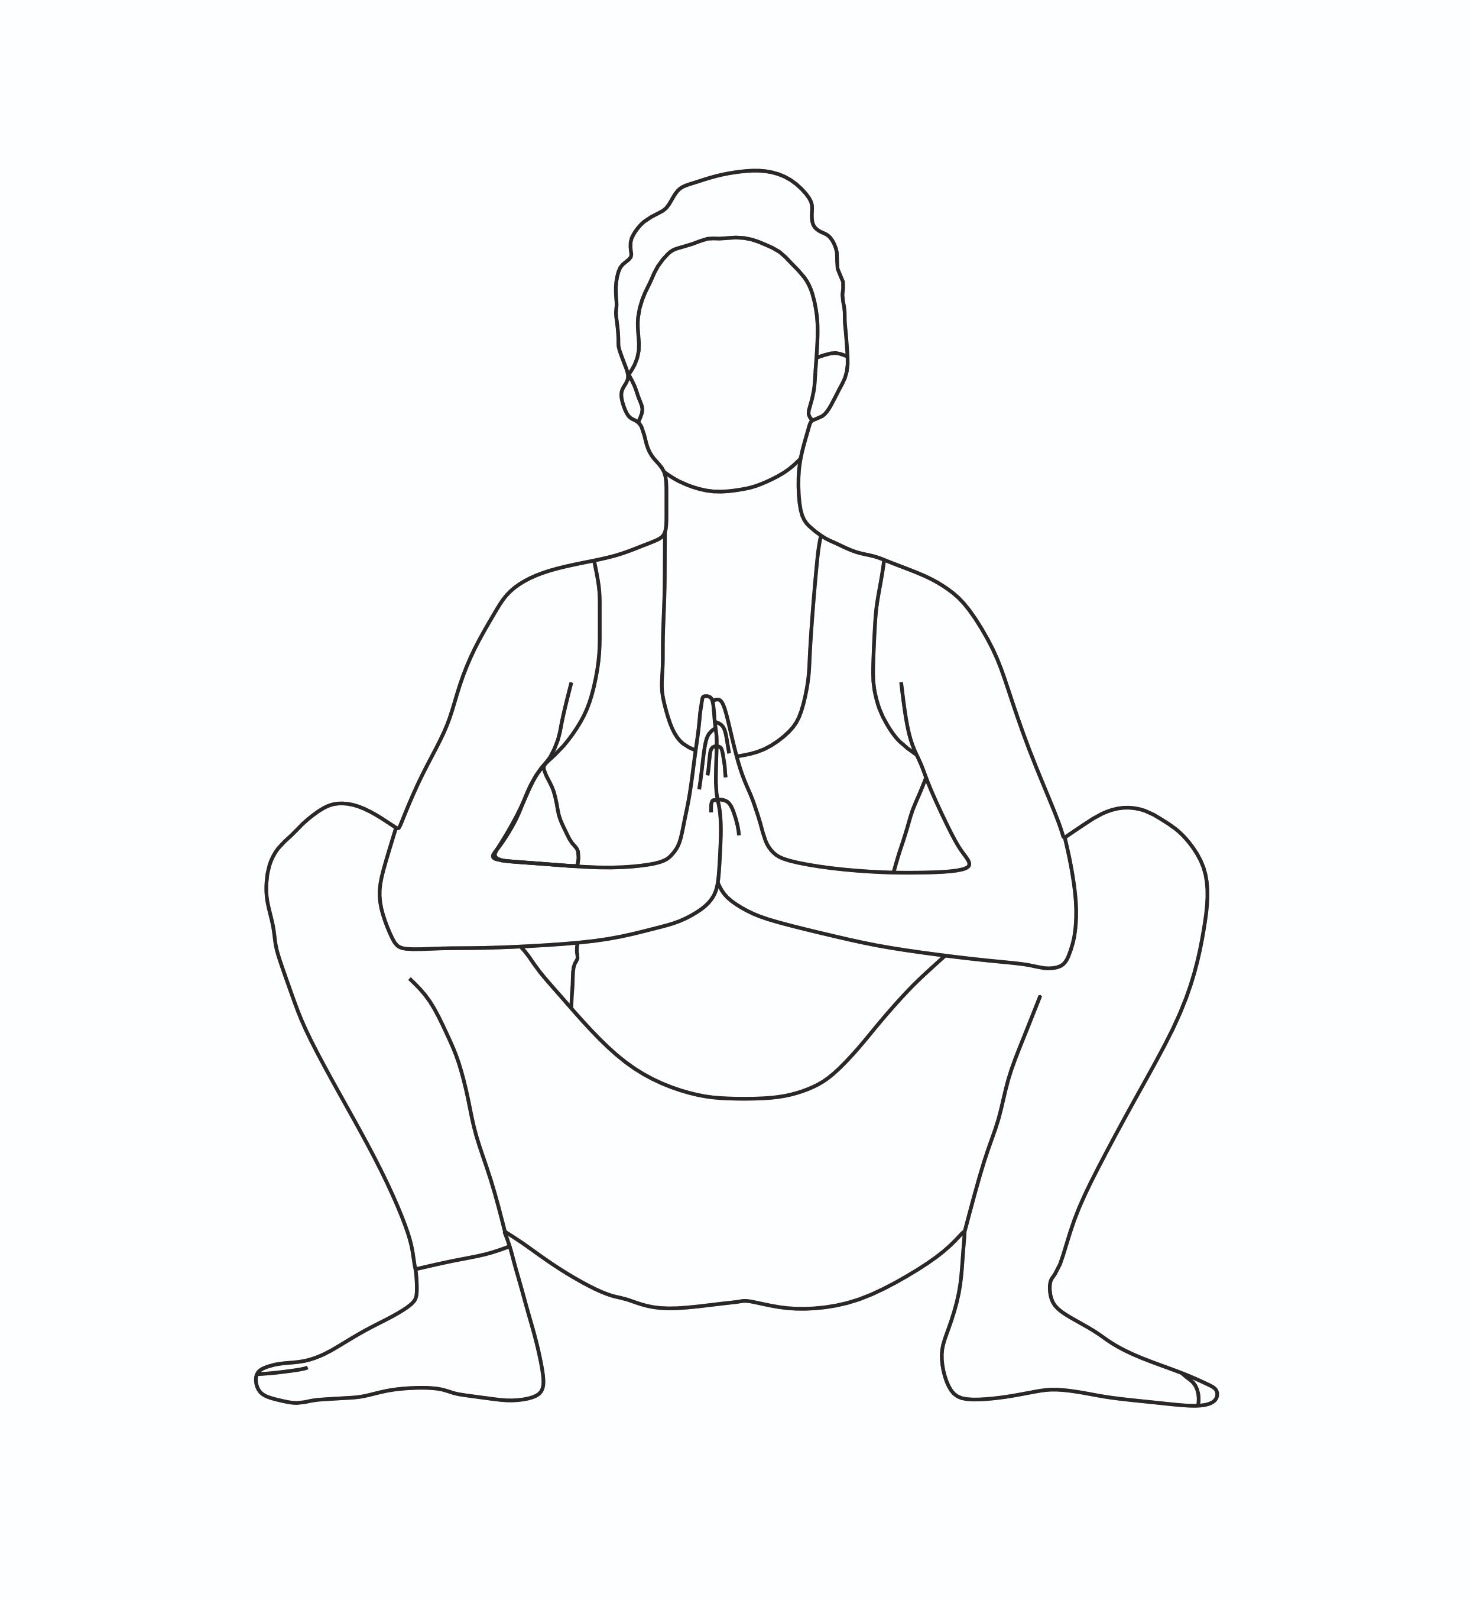
- Hand Position: Bring your upper arms inside your knees. Bend your elbows and bring your palms together before your chest in Anjali mudra (prayer position). This is where you’ll find the alignment of your hands, thumbs touching your sternum to help keep your chest lifted.
- Engage your muscles: Press your upper arms gently into your thighs and your thighs into your upper arms. This engagement helps to stabilise your posture and deepen the stretch.
- Maintain a straight spine: Keep your spine straight and avoid rounding your back. Your butt should continue moving towards the floor.
- Relax your shoulders: Keep your shoulders relaxed away from your ears. Avoid tensing up the muscles in your neck and shoulders.
- Hold the pose: Stay in this position for about five breaths or longer if you feel comfortable. Focus on your breath and try to relax into the pose.
- Exit the pose: To come out of Malasana, straighten your legs and return to a standing position. You can transition directly into a Forward Fold if you like.
Precautions and Contraindications
The deep yoga squat shouldn’t be practised in the following conditions.
Knee or low back injury
Avoid any jerk coming to the pose
One shouldn’t come forcefully.
One shouldn’t push oneself into intense squats.
Variations and Modifications
Sit with support: Start by sitting on the floor with your legs extended in front of you. Place a block or two under your buttocks if you need more help. This elevated seating can make it easier to perform the pose, especially if you have limited flexibility or mobility.
Gradual Progression: The goal is gradually lower the support’s height over time. As you become more comfortable and flexible in the pose, remove one block at a time, allowing gravity to stretch your hips and ankles gently. This gradual progression helps improve your flexibility over time without straining your muscles.
Balancing: If you have difficulty balancing in this pose, practice it near a wall or facing the back of a chair. A nearby support structure allows you to reach out for balance if needed. You can also perform the pose with your back against a wall to stabilise yourself further.