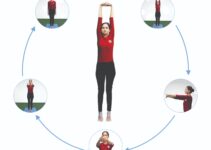
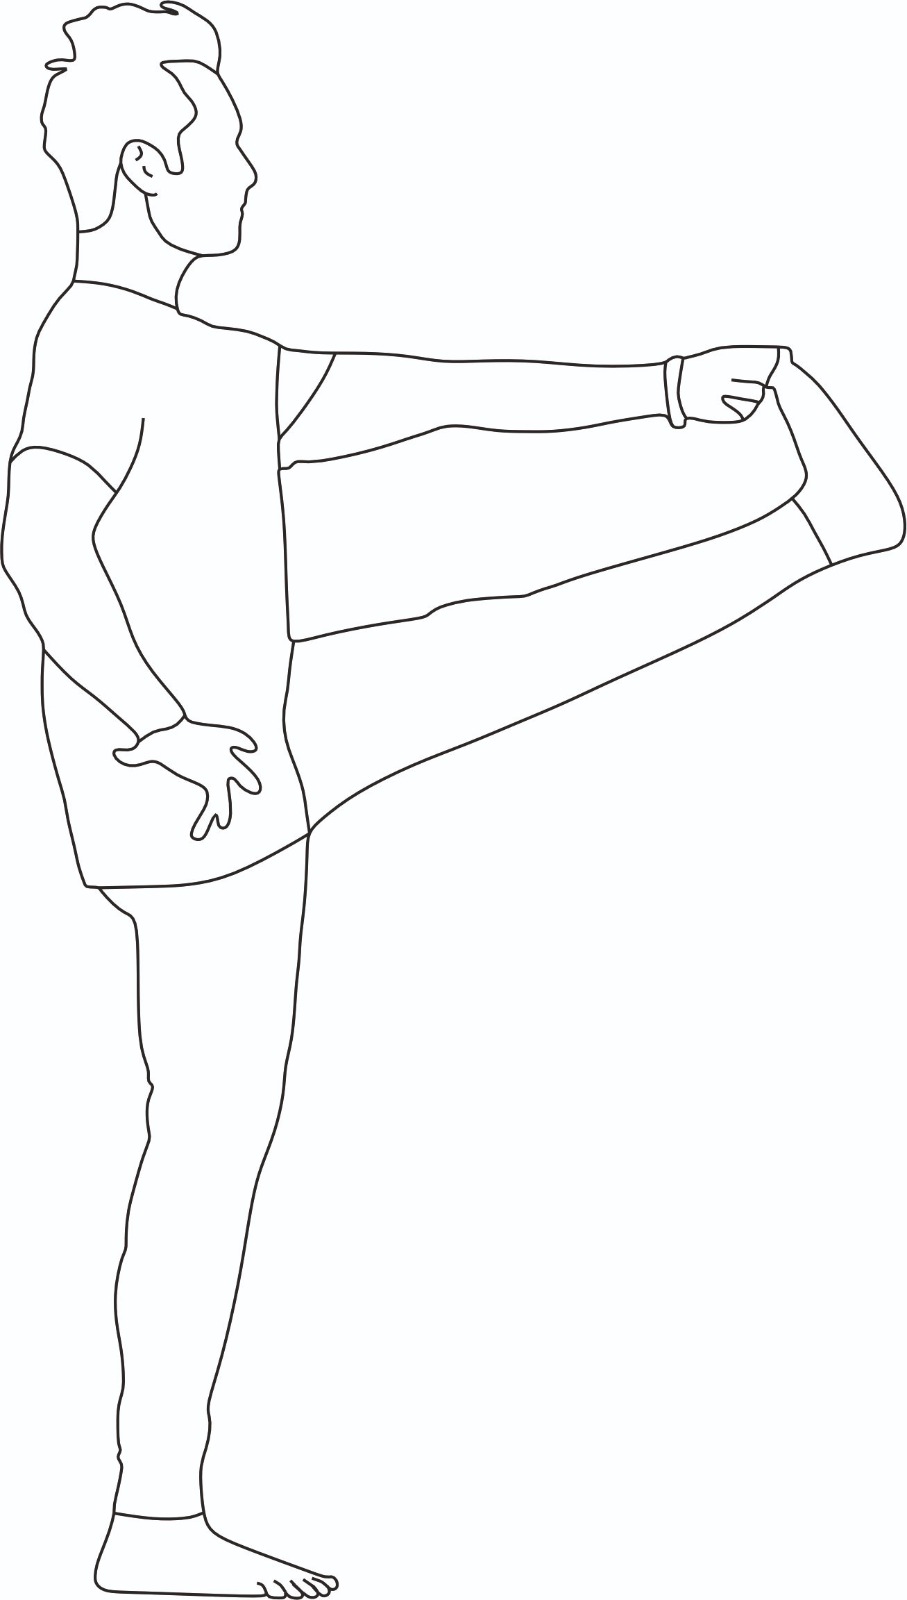
Extended Hand-to-Big-Toe Pose (Utthita Hasta Padangusthasana) is a balancing yoga pose wherein the practitioner raises one leg at hip level and holds its big toe with his hand. It’s a powerful yoga asana that helps to develop strength and flexibility in the legs and arms. In Sanskrit, it is known as Utthita Hasta Padangusthasana wherein utthita means ‘extended’; hasta means ‘hand’, pada ‘foot’, angusta ‘ big toe’ and asana ‘pose’.
Extended Hand-to-Big-Toe Pose Procedures
Utthita Hasta Padangusthasana’s steps and instructions involve a series of steps to achieve the posture correctly. As with any yoga pose, it’s important to listen to your body, practice with awareness, and avoid pushing yourself too hard.
Start in Tadasana (Mountain Pose)
- Stand with your feet hip-width apart, aligning your body in a straight line from head to heels.
- Press firmly into the big toe mounds of both feet.
- Observe the natural curve of your lower back, ensuring that your pelvis is neither tilting forward nor backwards.
- Maintain evenness on both sides of your torso.
Transition to the pose
- Firmly ground your left foot, ensuring that your left knee isn’t hyperextended.
- Bend your right knee and bring your right leg towards your chest.
- Clasp the big toe of your right foot with the first two fingers of your right hand.
Explore the pose
- Press your right foot forward, extending your leg as much as comfortable.
- Lift your sternum (chest), restoring some of the natural curves in your lower back.
- Tilt your pelvis slightly forward (anterior tilt) to engage your hamstrings.
Check hip alignment
- Pay attention to your hip alignment. Ensure that your right hip isn’t higher than your left hip.
- If there’s a difference, gently lower and draw your right hip down and towards your left foot.
- Maintain a straight and neutral alignment in your left leg.
Hold the pose
- Hold the pose for a duration that suits your practice, ranging from a few breaths to a few minutes.
- Continue to breathe deeply and mindfully while in the pose.
Root down with the left foot
- During your stay in the pose, use your exhales to root down firmly with your left foot.
- This grounding provides stability and balance in the pose.
Release and switch sides
- To release the pose, gently release your right foot and return to Tadasana.
- Repeat the sequence on the other side, grounding the right foot and lifting the left leg.
Variations
Many people have tight hamstrings and cannot straighten one’s legs while standing on another leg and keeping the spine straight. In such cases, one should use a strap or yoga band to hold the big toe, knee, and ankle, as per one’s flexibility. However, it has been seen that many people feel uncomfortable while practising this pose because of imbalance. Practising it regularly will help you to perform the pose better. Use props or modifications as needed to ensure a safe and comfortable practice.
Benefits
- Extended Hand-to-Big Toe Pose helps to improve balance and posture.
- It is suitable for prolonged sitting work, especially computer work.
- The pose gives adequate stretching of both legs’ thighs, calves, and buttocks.
Extended Hand-to-Big-Toe Pose Beginner’s Tip
Here’s a step-by-step guide to using this modification
- Prepare your props: Place a sturdy chair with a padded seat cushion or blanket on the top edge near a wall. Make sure the chair is stable and won’t tip over
- Position the chair: Set the chair about an inch or two away from the wall, with the chair’s backrest facing the wall.
- Start in Tadasana: Begin in the Tadasana (Mountain Pose) position as described earlier, with both feet firmly planted on the ground.
- Use the chair for support: Stand next to the chair’s backrest if you’re starting with the right leg raised. Lift your right leg and bend your knee normally for the pose. Instead of holding your big toe with your hand, place your right heel on the top edge of the chair’s backrest.
- Engage with the wall: Press your right heel into the wall behind you. This contact with the wall provides stability and helps you maintain balance.
- Maintain posture: Using the chair and wall for support, keep your left leg strong and your spine tall. You can still work on maintaining an anterior tilt of the pelvis and finding symmetry in your torso.
- Hold the pose: With the chair and wall support, you can hold the pose for a longer duration, gradually building strength, flexibility, and balance.
- Switch sides: To practice on the other leg, carefully release your right foot from the chair and switch sides, repeating the sequence with your left leg.
Contraindications
It shouldn’t be performed in the following conditions.
- Spinal injury
- Ankle pain
- Thighs pain
- Knee pain
- Legs and Arms injuries